


Diffuser Refill
€19.00


Do you love candles but can’t stand the fact they usually don’t burn evenly?
Sometimes there’s a considerable amount of wax left, and yet you cannot burn it simply because the candle didn’t burn evenly.
The following tips should be helpful in allowing you to get maximum burning time from your candles by having them burn evenly.

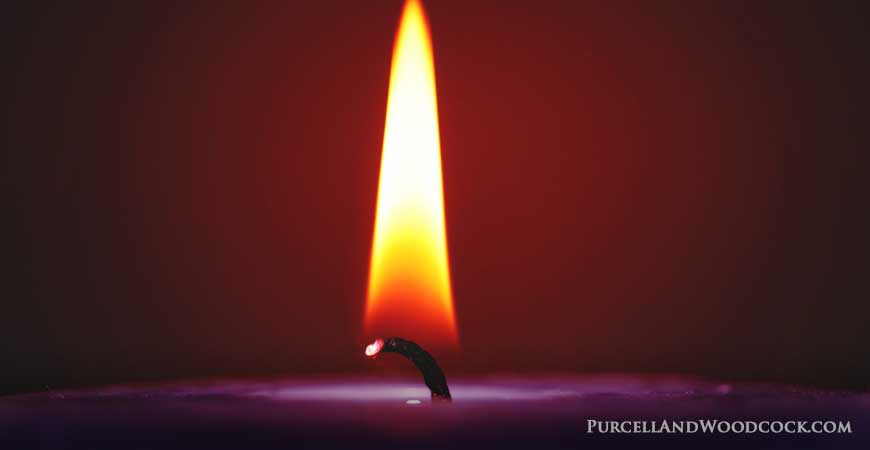
It’s very important to place a candle on a flat and stable surface when you light it.
If the surface is unstable, the wax will end up melting unevenly.
Moreover, the flames will probably end up flickering and giving off dark smoke and stains.
This is a very important tip.
Every time you burn a candle, it’s advisable to trim the wick.
You can do this with a pair of scissors or nail clippers.
There are even wick trimmers which are specifically made for this reason.
Trimmed wicks help your candle burn in a cleaner and more even manner.
Besides, long wicks will lead to bigger flames causing ‘burn pools’ and very uneven wax burning.
As a general rule of thumb, a candle’s wick should be between ⅛ and ¼ inches long.
Make it a point to trim the wick before burning the candle, every time.
Getting a proper burn is not that easy since it takes time.
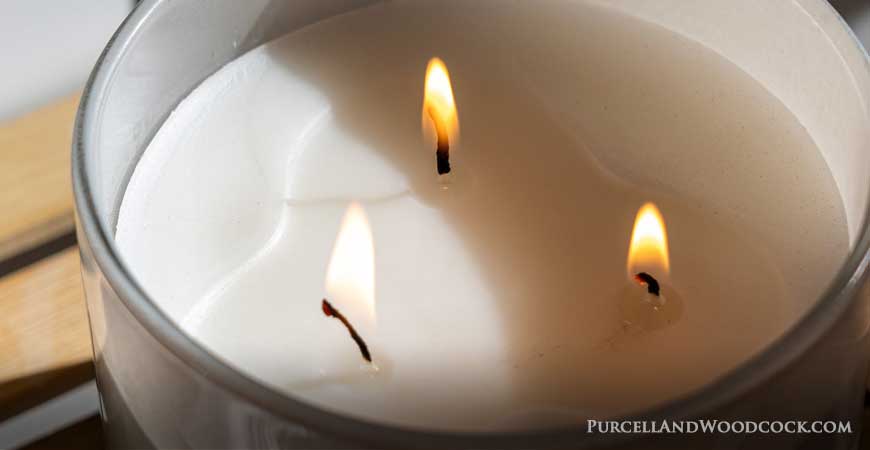
A good solution to this is to burn multi-wick candles.
There are in fact candles which include two wicks or three wicks.
Since there are more flames in the candle, there will be a quicker melt.
Moreover, having more than just one wick is ideal for even burning, especially if the candle’s diameter is rather wide.
Multi wicks are great to avoid tunnelling or burn pools.
A longer match or a lighter allows you to reach the candle’s wick more easily as well as safely.
This will also help you to start an even burn.
Often when short matches are used, people tend to tilt the candle in their hand to reach the wick easier.
This leads to flickering flames, and the wax will start melting unevenly right from the start.
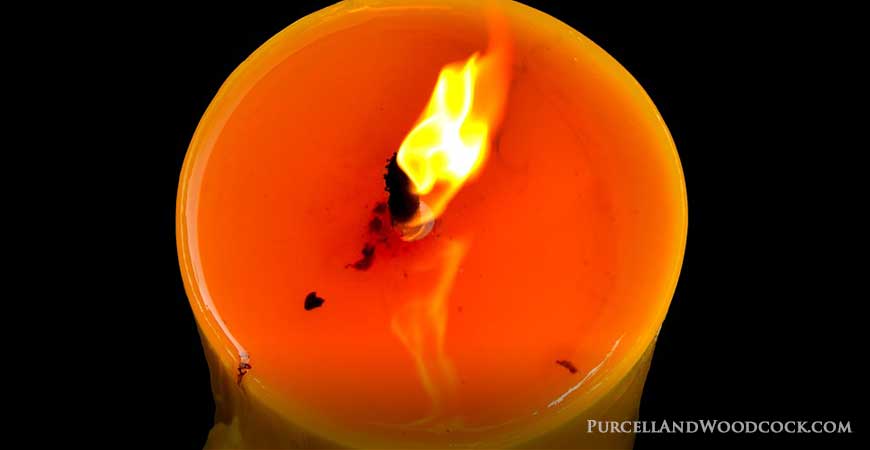
Make sure to never blow out a candle until the upper wax layer has melted all the way across the candle’s surface area.
By achieving a full melt, you will avoid ending up with what is generally referred to as tunnelling.
This is when the wick starts to sink lower, forming a sort of tunnel all the way through the candle’s centre.
At times this tunnel ends up getting quite deep, and you might not even manage to light the wick at all.
And it’s a pity to have all that unmelted wax on the sides of the tunnel going to waste.
It is also important to make sure to always melt the entire upper layer of wax particularly during the first burn of a candle.
Memory rings are generally left, and if you allow this the candle will simply burn in the same way once it’s lit again.
As a result, the melted wax will continue to get narrow, and in time a tunnel will form.
Hence it’s very important to follow the same process every time you light a candle.
So always allow the entire top layer to melt to have an even upper layer.

As tunnelling is a very common problem with candles, it’s important to be aware of ways to resolve this.
A good method is to use tin foil.
All you need to do is light up the candle, and then wrap aluminium foil around the top of the candle jar.
It’s best to leave around 3 inches to be able to form a rounded cover, leaving an opening in the centre area.
Remove this foil wrapping after a couple of hours and the tunnelling should have melted away.
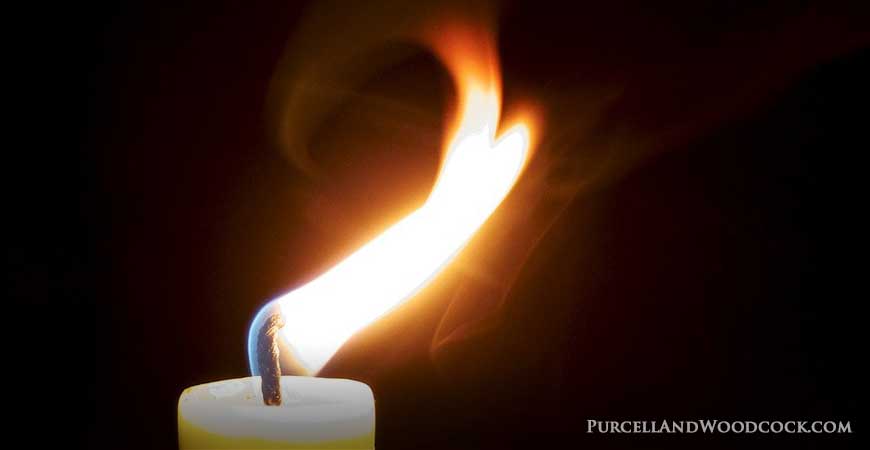
The main problem with candles burning unevenly is when the flame starts to flicker.
So you need to avoid placing the candle in a place where it is exposed to breezes or drafts.
An open window or within close proximity to an air conditioning unit is thus not an ideal location for a burning candle.
This is also important from a safety point of view.

It is best to monitor a candle’s progress from time to time as it burns.
This will allow you to realise when to snuff out the flame to avoid uneven burning.
As already mentioned, it’s best to allow the wax to pool all the way across the top part.
As a general rule of thumb, it’s best to avoid letting a candle burn for more than 4 hours.
This is usually considered as the maximum burn time, but it’s best to check with the specific candle as some candles can only withstand shorter burn times.
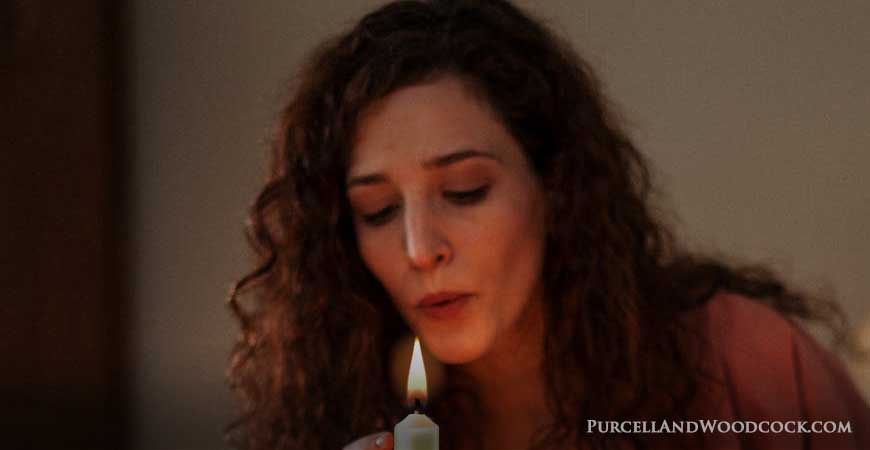
Many people unwittingly blow out candles in order to extinguish the flame, not realising this is best avoided.
However it’s better to snuff out the flame rather than blowing it out.
When you blow you end up spreading ashy debris into the candle’s melted wax.
So it’s better to use a candle snuffer directly onto the flame, and gradually lower it until it is just above the pool of melted wax.
Hold it there for around 3 seconds to allow time for the flame to use up the remaining oxygen and go out.
In case you do not have a candle snuffer, you can also use a metal spoon.
Sometimes candles also come with a fireproof lid.
This can be used to snuff out the flame.
Another effective tip in relation to extinguishing candles the right way is to sprinkle some salt on the melted wax.
This helps to slow down the melting rate of the wax, and so you should be able to have a slower burn, and a more even result.
Iodised table salt works very well.
You can mix it into the liquid wax of the candle using a toothpick.
Once the wax has cooled down completely, the upper layer of the candle should be more even.
This procedure can be carried out following subsequent burns as it can lengthen the amount of time you can use the candle, as well as help you get a more even burn.

Some people extinguish the flame by using water.
However this is neither a safe nor a practical option to extinguish candles.
The water will splash onto the candle, and end up splashing hot wax too.
This could burn your hand, the candle jar or holder, and even the surface on which the candle is.
It’s very important to always allow the wax to completely cool down before lighting the candle again.
So do check that the melted wax has hardened sufficiently if you intend to light a candle that was recently extinguished.
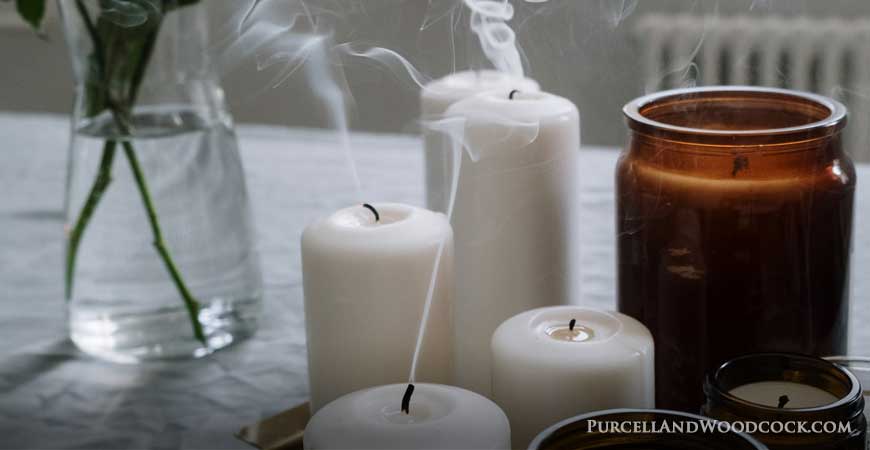
Candles should be covered up if they are not being used.
Dust can contribute to an uneven burn, as well as cause more smoke and crackling.
So, if you are not using candles, either store them away in a cupboard or drawer.
Better still, place them in a freezer, or else cover them up.
The above tips and tricks should be helpful in prolonging the burning time of your candles, as well as allow you to have candles that are burning evenly.
It’s also important to be careful and always place safety first whenever you are dealing with burning candles.
We hope this article was helpful, and you get more enjoyment out of your candles.
Please sign in first.
Sign inCreate a free account to save loved items.
Sign in
